Today I will tell you how you can apply SSL certificate on your WordPress website for free. And you can secure your website. This whole process is going to be perfect, so you will not face any problem.
More Questions About Free Web Hosting
- Add Custom Domain To The Profreehost Web Hosting.
- Create Free WordPress Website On Profreehost.
- Free Web Hosting With Cpanel Every Thing Free.
- Best Free SEO Tools in 2021.
- Track Live Traffic WordPress Website.
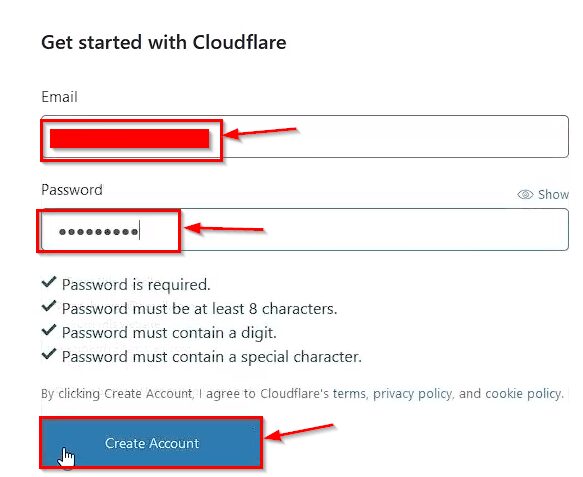
First of all, you have to open a website. (Cloudflare.com) By submitting your WordPress website on top of this website, you can create an SSL certificate for your website for free. After opening the website, you will have to create an account here, for which you can give your email ID and enter the password from it and click above the Create Account button.

After this, you have to open your mail, from which you have created an account of Cloudflare. Verification will be sent on it, which you will have to confirm.
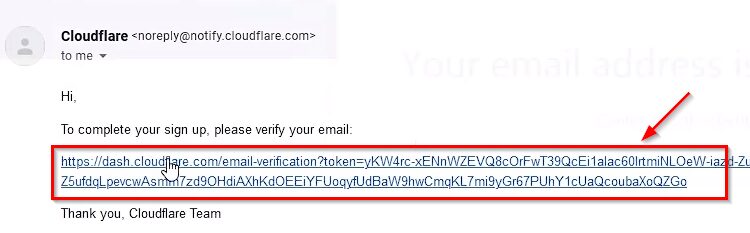
After opening the main, you will encounter some such interface here, you have to click on the link given above. And then your account will be verified automatically.
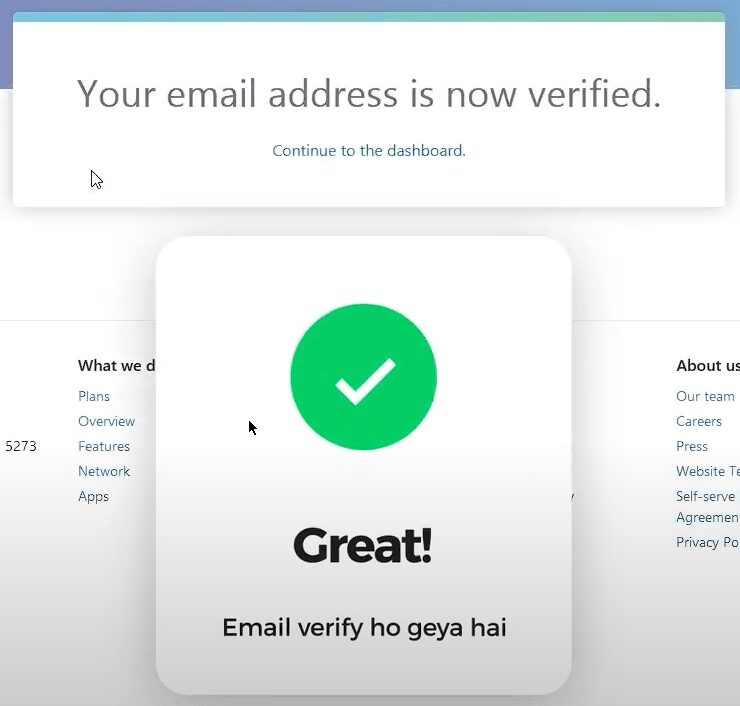
Now you can see that our Cloudflare account has been verified. And now we are getting the Continue to Dashboard button here, you have to click on it and open Cloudflare Dashboard.

After this, you have to submit your website, for which you have to fill in your website’s URL or domain name here and then click on the Add website button.
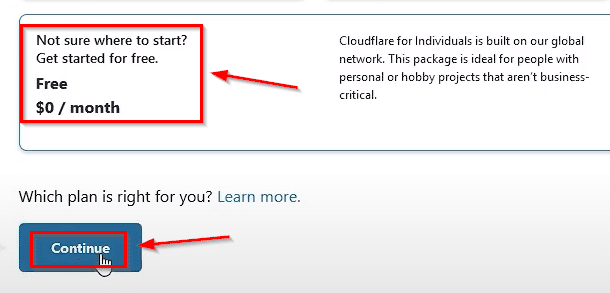
After this, it will ask you about some premium plans and free plants, here you have to select the free plan and then click on the Continue button.
Some details and taxes of your website will be opened in front of you, from here you can also edit all those tags and you can also add some new tags, after that, you have to click on the Continue button.
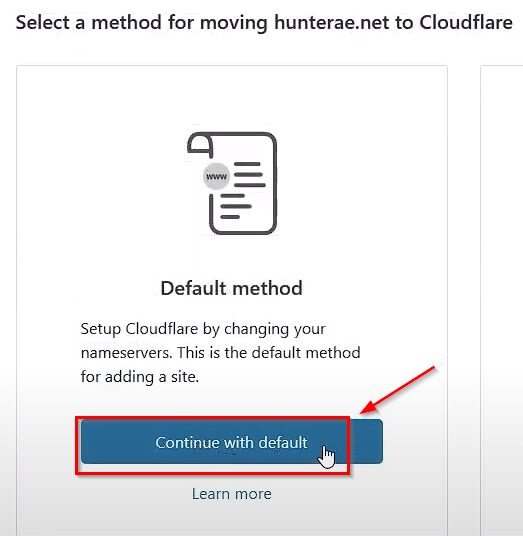
Here you will be asked how you want to add your nameservers, then here you have to click on the Continue with default button.
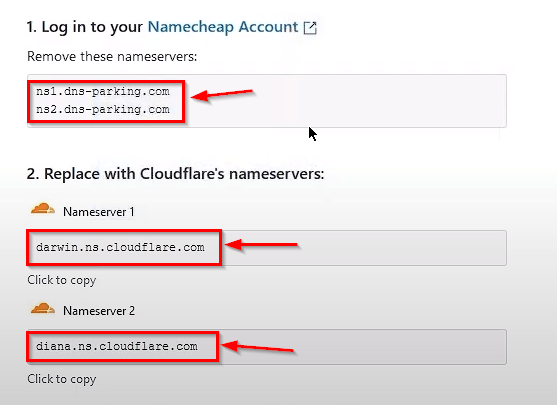
After this, you will be given two nameservers that are own by Cloudflare, you have to change them with the nameservers of your domain.

To change the nameservers of your domain, you have to open your nameserver provider’s website and then you can change the nameservers by going to your domain’s settings.
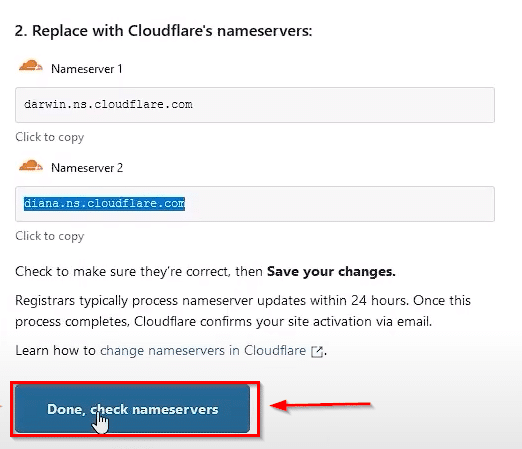
After changing the nameservers of your domain, you have to come back to Cloudflare and then click above the Done check name server button.
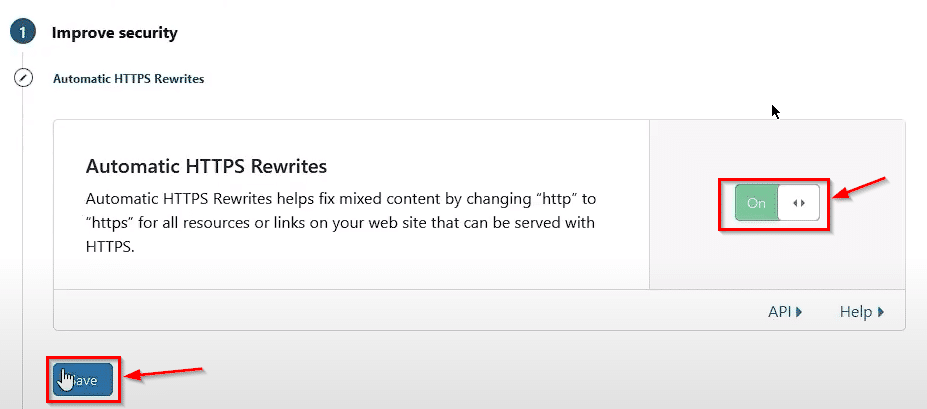
After this, some such window will open in front of you, here you have to turn on automatic HTTPS rewrite and then click on the Save button.
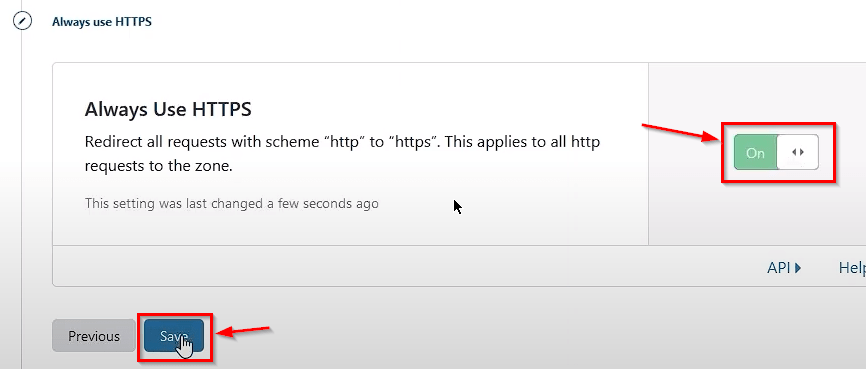
Here too, you have to disable Always Yours HTTPS and click on the button again so that your website will always be redirected to HTTPS.
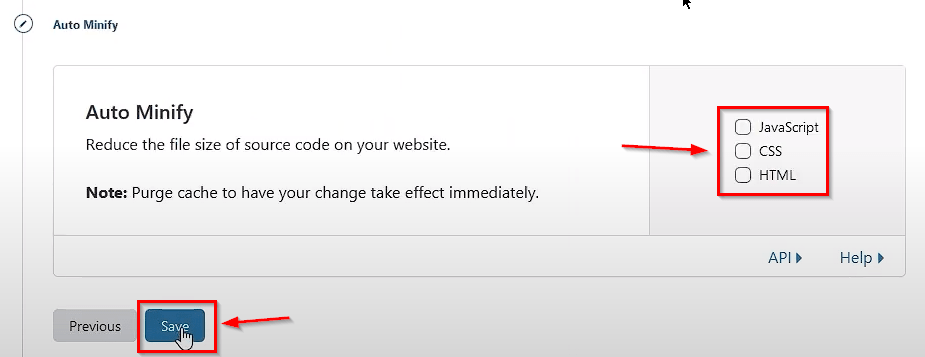
After this, some such interface will open in front of you, here you can minify the Java CSS and HTML files of your website according to yourself and then click on the Save button.
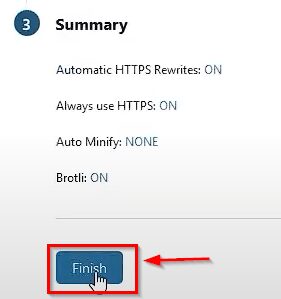
After completing this process, you have to click on the Finish button.
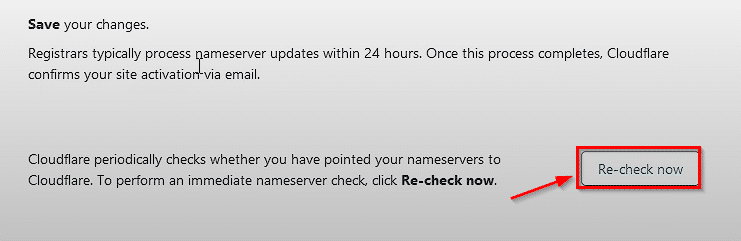
After this, you have to click on the Recheck Now button and then wait some time so that the nameservers of your dormant are changed.

After this, you can see that the name servers of our website have been successfully changed and now the SSL certificate has been installed on our website. Now our website has become absolutely secure.